How to Photograph Your Printed Apparel and Promo Products for Social Media and Websites
High-quality images can make your printed apparel and promo products stand out, whether you’re showcasing them on social media, a website, or in an online shop. Great photos help your customers visualize the quality of your work and make a lasting impression. With a few tips, you can achieve stunning product photos using a smartphone or DSLR camera, even if you’re new to photography.
Set Up Your Space and Lighting
Good lighting is key to capturing clear, vibrant images.
Natural Light: Use natural light whenever possible. Try shooting near a large window with indirect sunlight to avoid harsh shadows. Avoid direct sunlight in most cases. It can create bright spots and wash out colors.
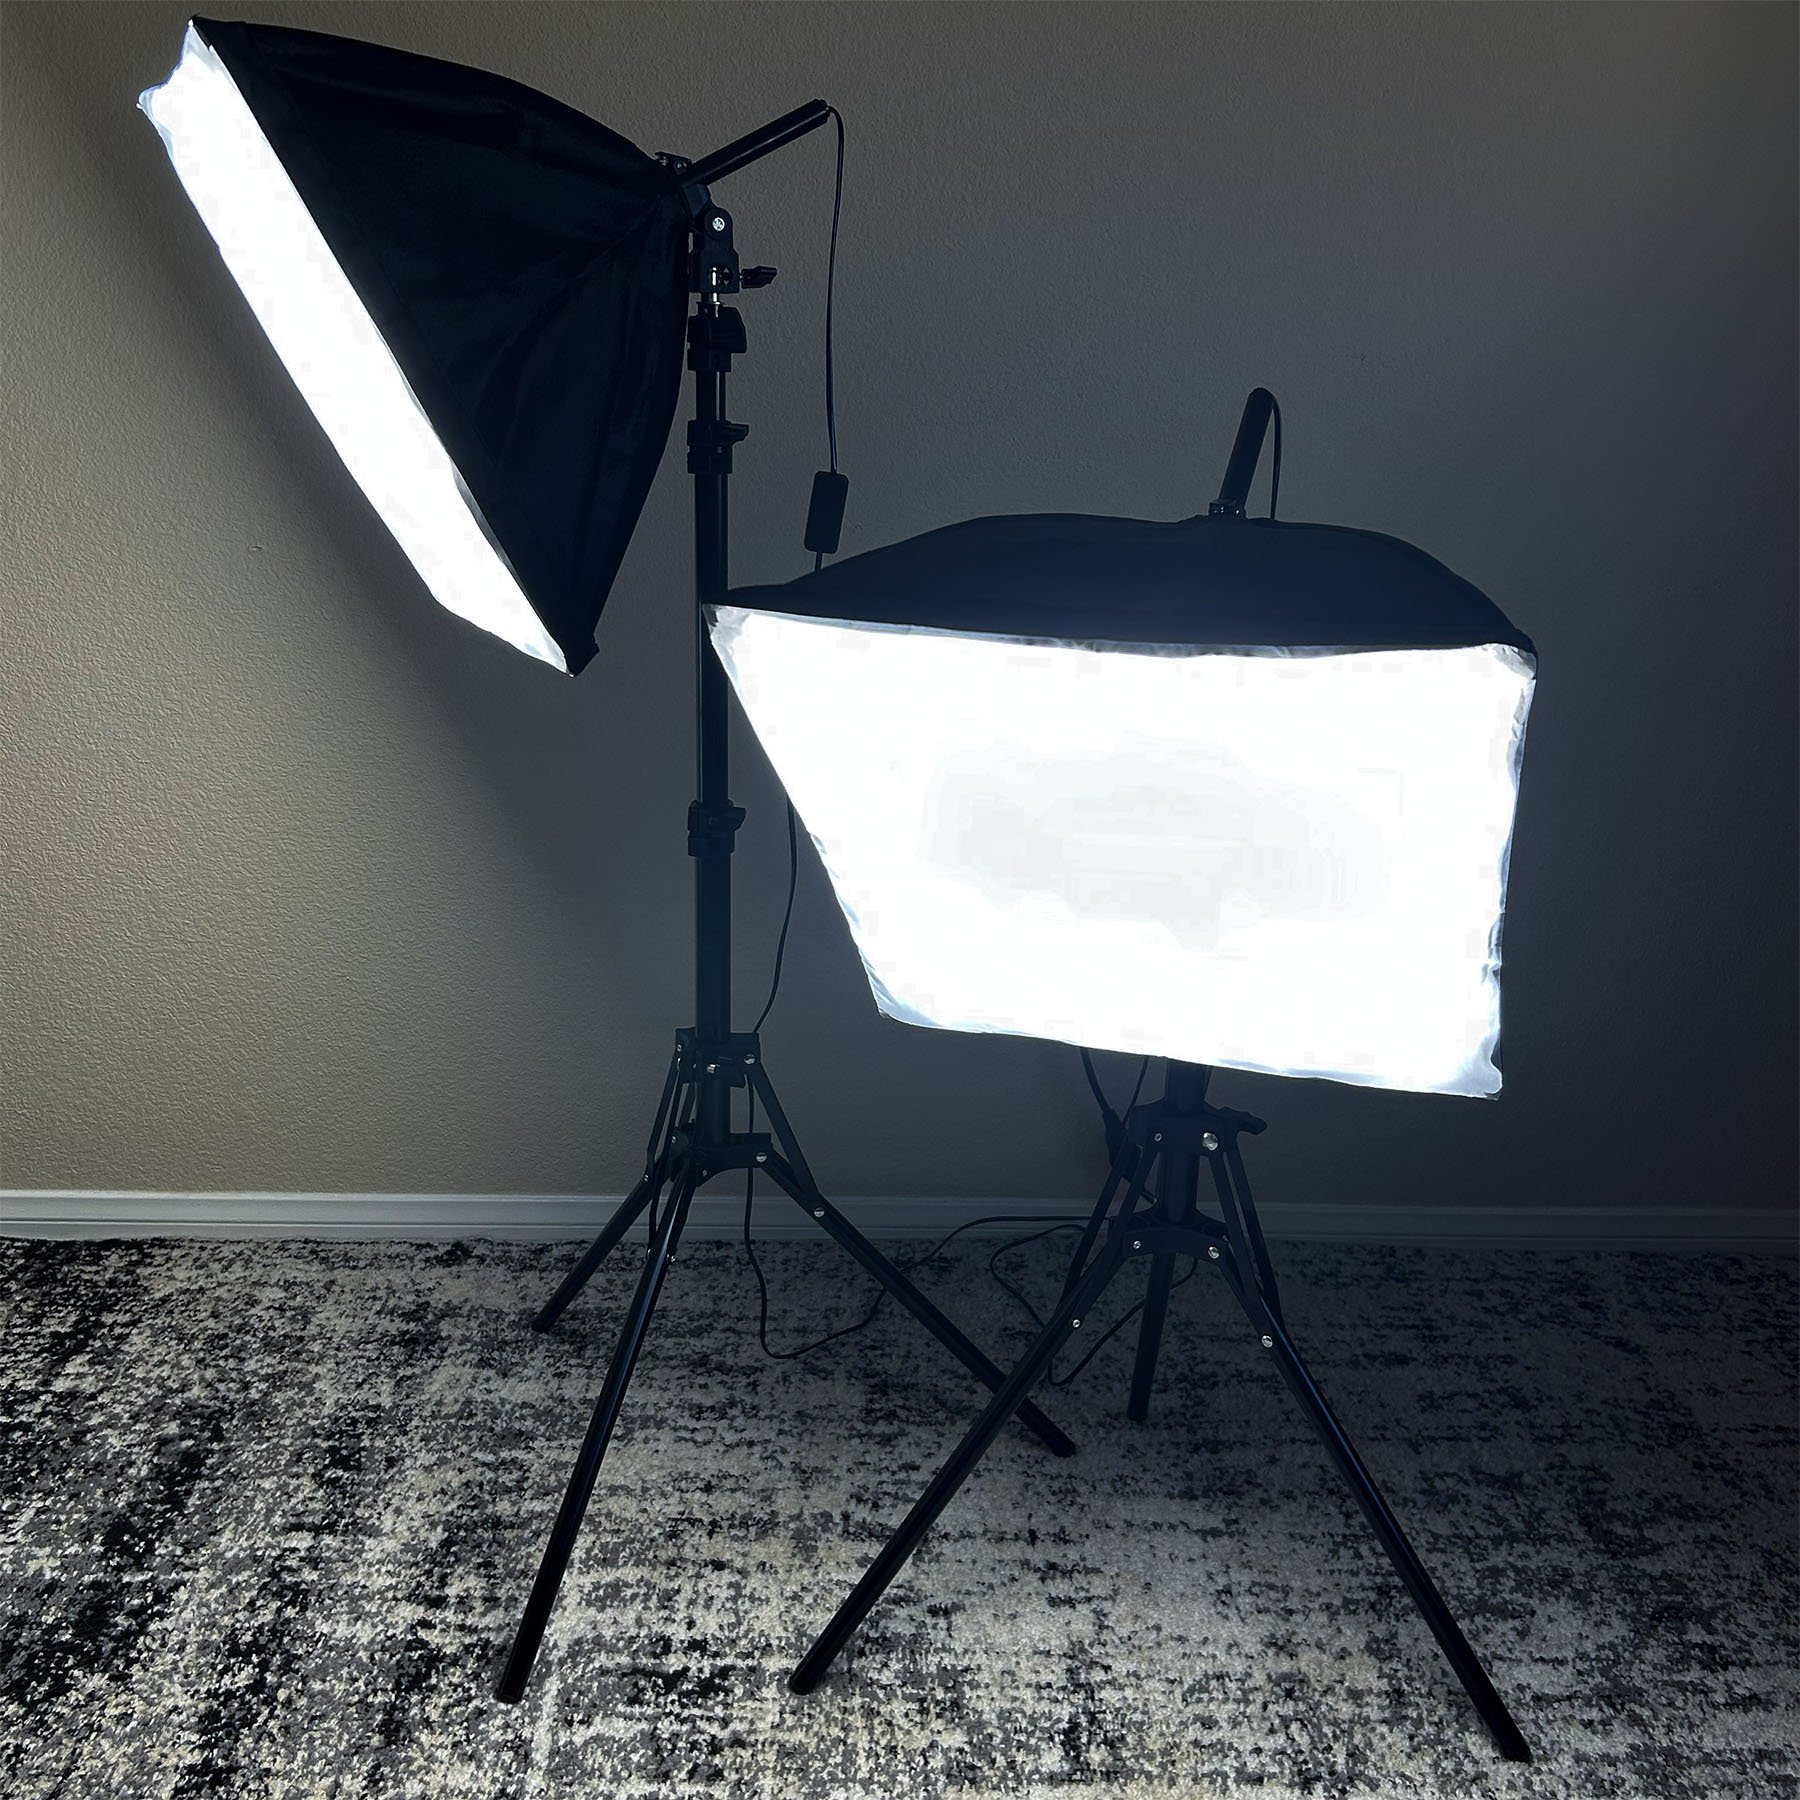
Artificial Light: If natural light isn’t available, use soft artificial light. LED ring lights or softbox lights are affordable and work well. Position lights at a 45-degree angle to your product to create depth and minimize shadows.
Avoid Mixing Light Sources: Combining natural and artificial light can create unwanted color casts, so stick to one type of lighting in each shoot.
Affordable soft box lights for pro shots.
Recommended Supplies for Your Setup
Having the right setup and materials can help you get professional-looking photos every time.
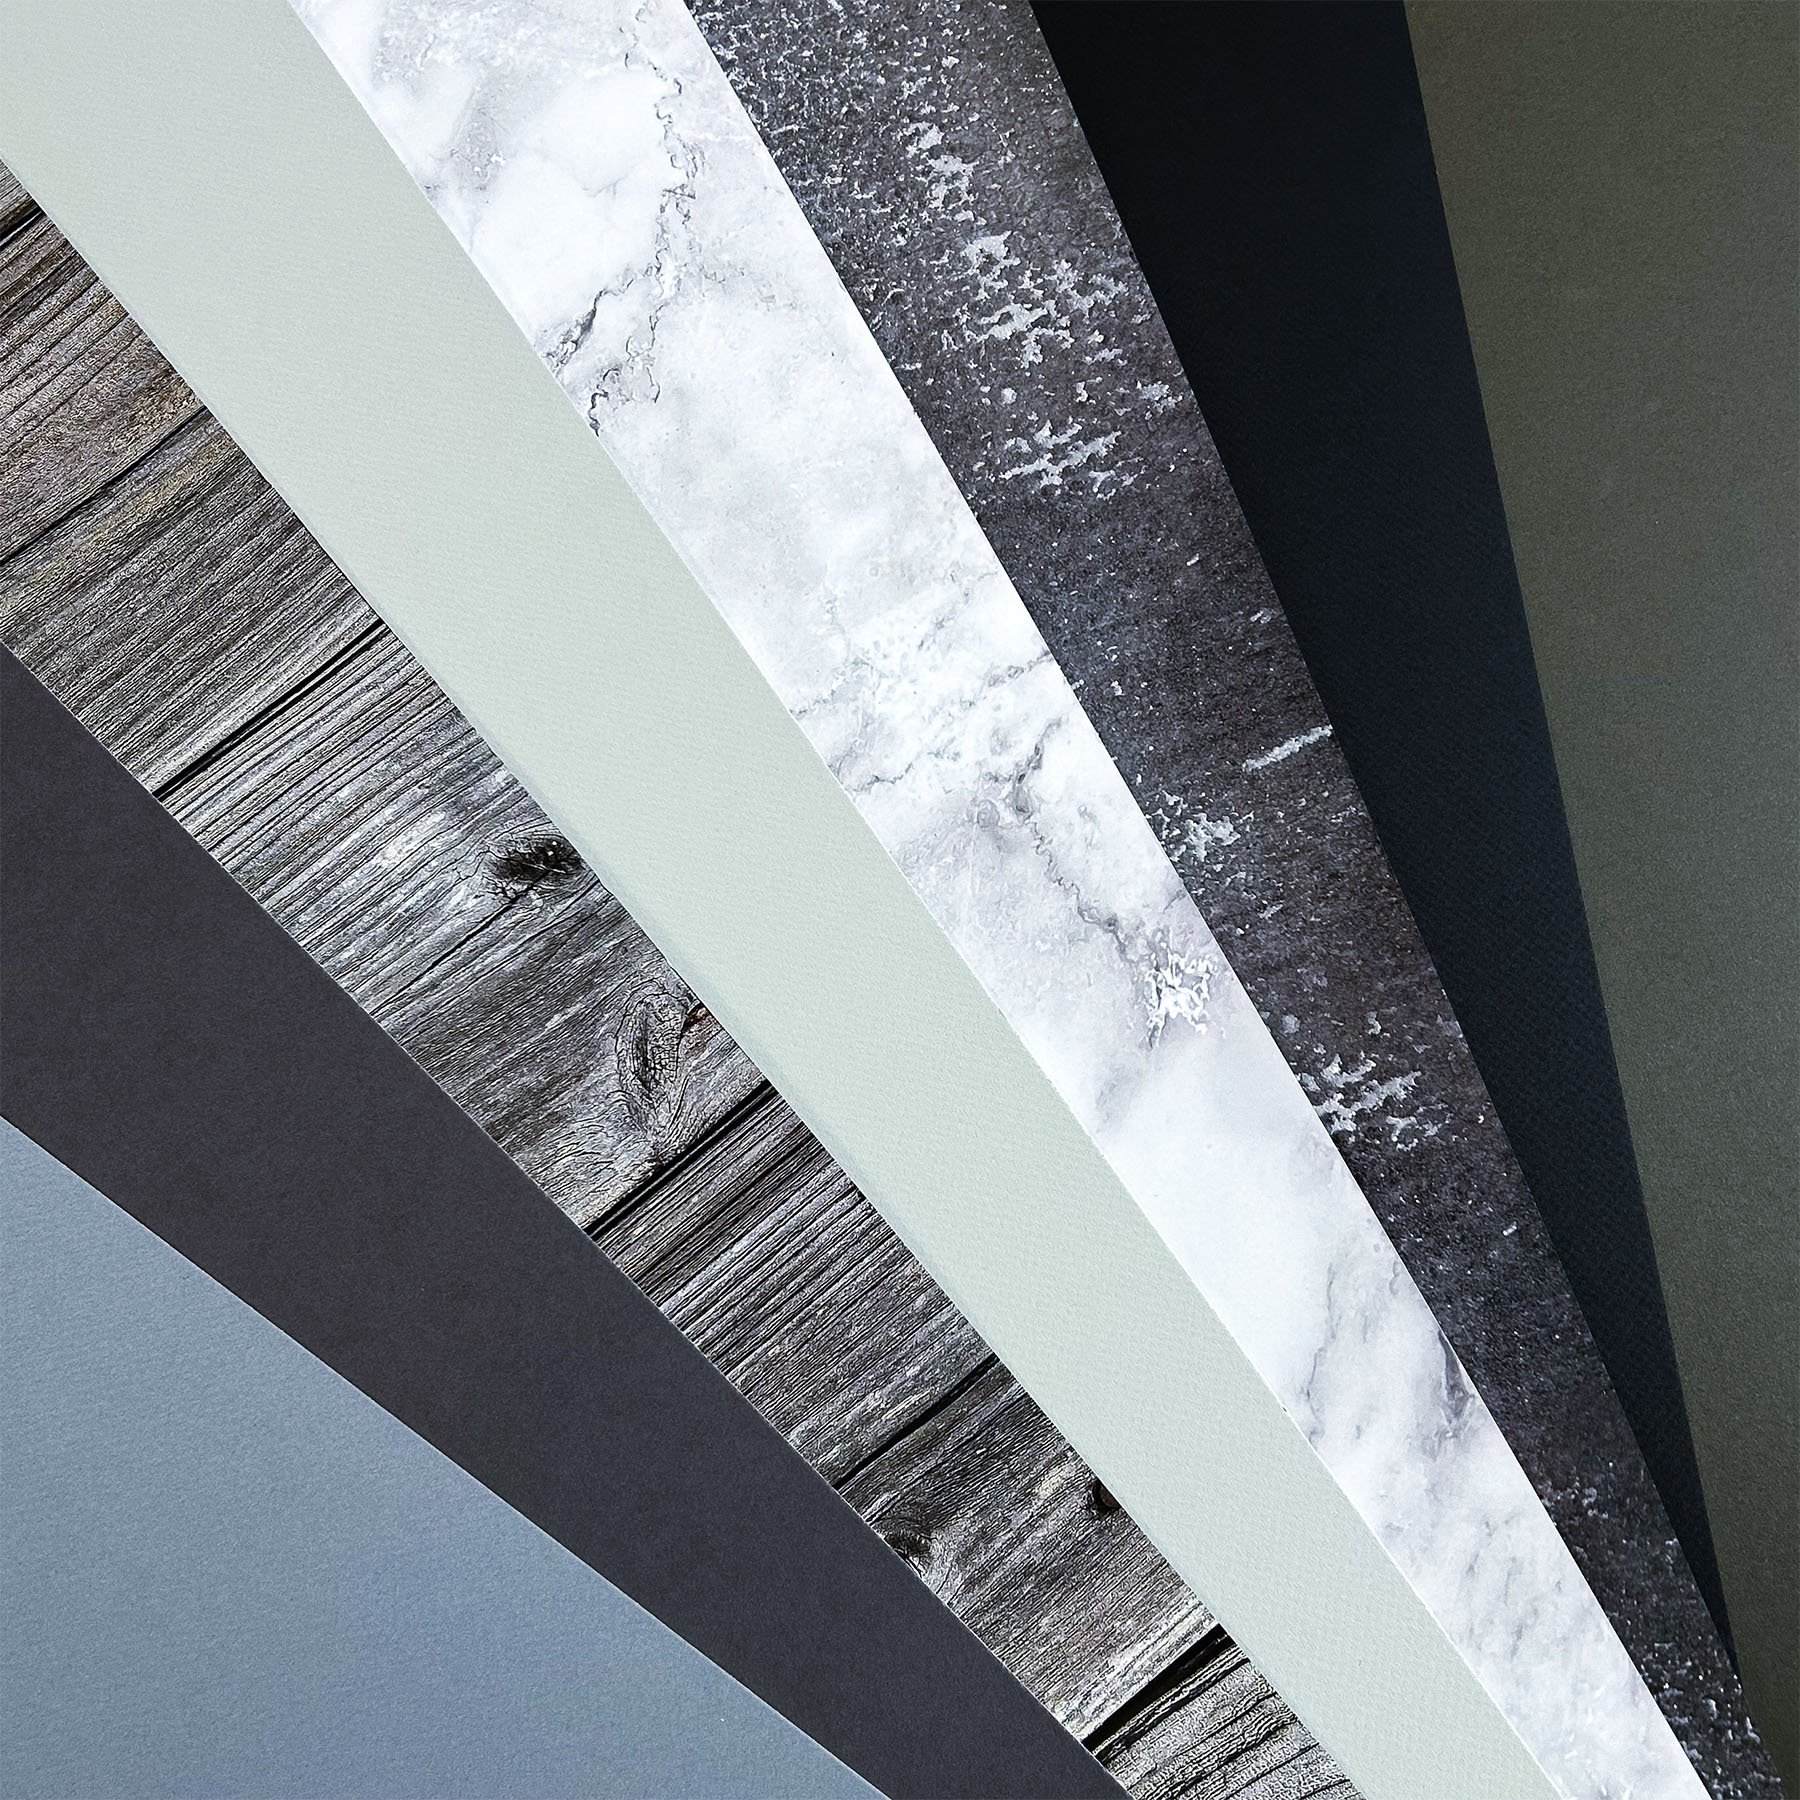
Backdrops: Use simple, neutral backdrops such as white, gray, or beige to keep the focus on your product. Fabric, vinyl, or paper backdrops are versatile options and are available in rolls or sheets. For smaller items, foam boards or poster boards can work as well.
Sweeps: A sweep is a backdrop that curves from the wall to the floor, eliminating harsh lines in the background. Sweeps help create a clean, seamless look that directs attention to your product. You can make one yourself with a large sheet of paper or purchase a professional sweep if you’re photographing larger items.
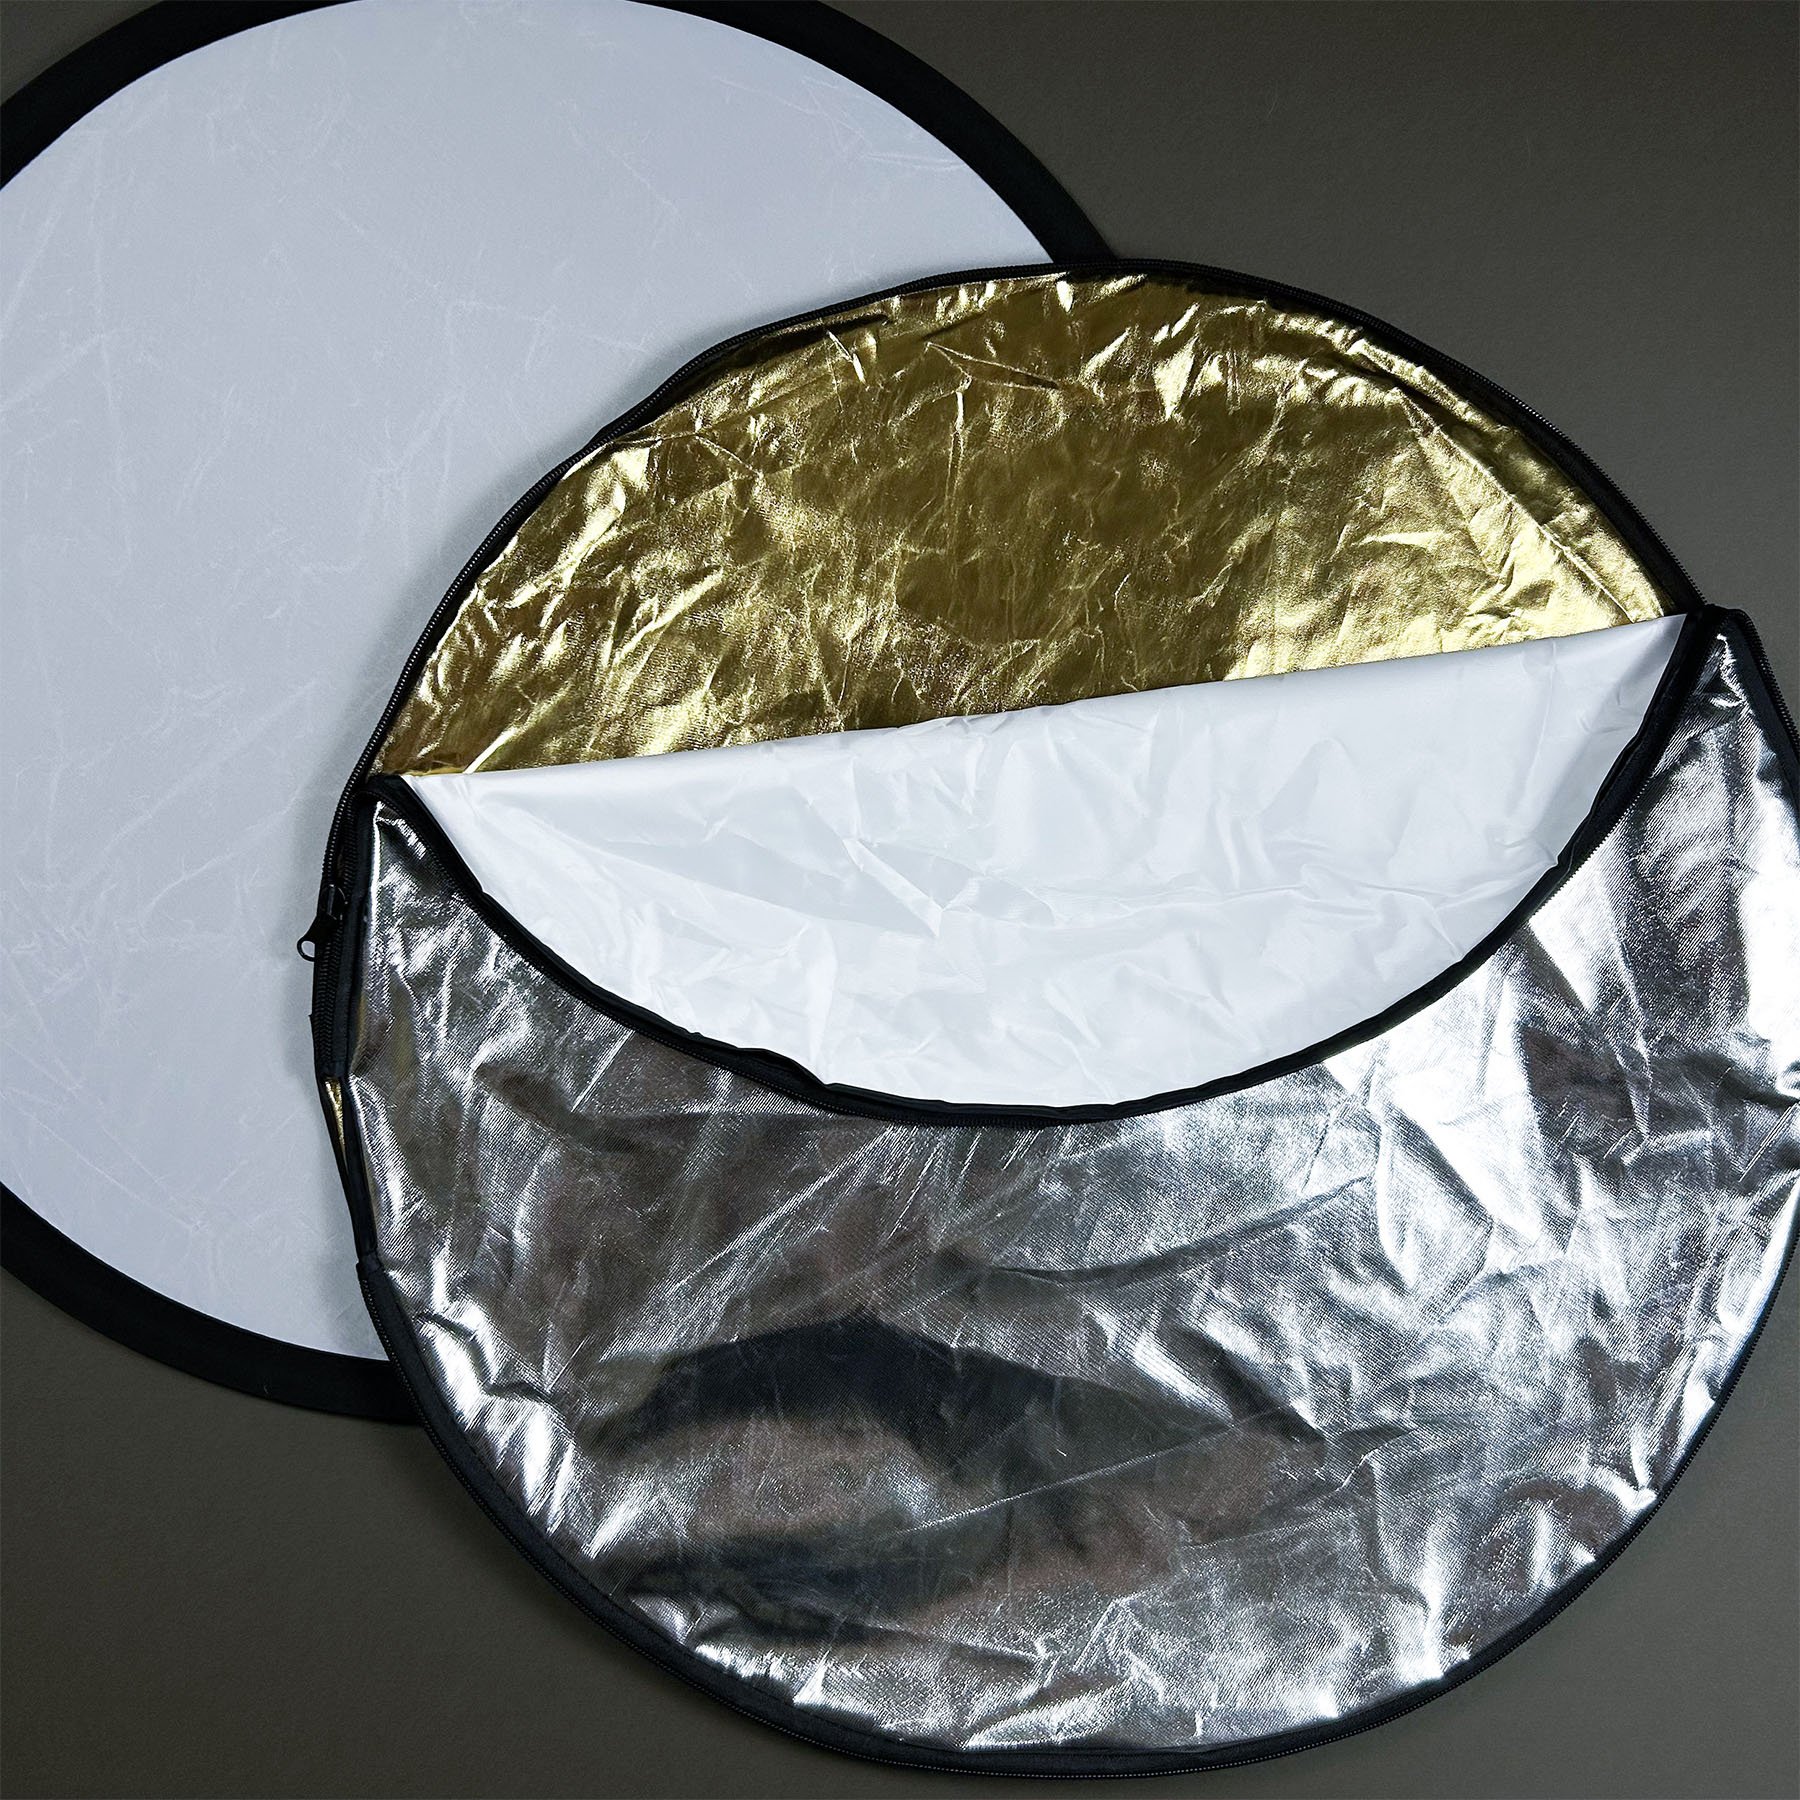
Portable Light Reflectors: Reflectors help bounce light onto your product, filling in shadows and adding brightness. Small portable reflectors are available, or you can use white foam board as a budget-friendly alternative.
Stands and Clamps: Use stands and clamps to hold your backdrop and lights in place securely. This is especially helpful if you’re working in a small space or need to keep hands free for positioning products.
Props: Choose props that complement the product without overpowering it. Items like hangers, small plants, or neutral office supplies work well for apparel and promo products.
Portable light reflector to bounce the light.
Styling and Composition
Creating a visually appealing setup is essential to make your products look inviting.
Clean, Simple Background: Choose a neutral background like white, gray, or beige to keep the focus on the product. You can use foam boards, fabric backdrops, or even poster boards.
Add Props Sparingly: For promo products, a few relevant props can add context. For instance, a tote bag might look great with sunglasses and a notebook nearby. But avoid overcrowding the scene; the product should always be the star.
Consider Angles and Close-Ups: Show the garment or item from multiple angles, including close-ups of details. Highlighting textures, finishes, or unique printing elements will help customers better understand your product.
Neutral backdrops keep the focus on your product.
Camera Settings for Smartphones
Most smartphones have powerful cameras with settings that can elevate your photos.
Clean Your Lens: Wipe your smartphone lens before each shoot to remove fingerprints, dust, or smudges. A clean lens ensures sharp, clear photos.
Turn on Grid Lines: Use the grid to align your product and keep everything centered and straight. The rule of thirds can help you position the subject attractively.
Focus and Exposure: Tap on your product to set focus and adjust exposure by sliding your finger up or down on the screen to brighten or darken the image.
HDR Mode: HDR (High Dynamic Range) can be helpful for product shots, balancing light and dark areas in the image to prevent overexposure.
Portrait Mode: Many smartphones have a Portrait mode that blurs the background to make your product stand out. Use it sparingly, as too much blur can look unnatural.
Camera Settings for DSLR
If you have access to a DSLR camera, manual settings give you even more control over your shots.
Aperture (f-stop): Use a low f-stop (e.g., f/2.8) to achieve a blurred background effect and make the product pop. If you want the entire product in focus, set a higher f-stop (f/8 or above).
Shutter Speed: For clear, sharp images, use a shutter speed of at least 1/125. If you’re photographing handheld, faster shutter speeds (1/250 or higher) will help reduce motion blur.
ISO: Keep the ISO low (100–400) to reduce grain in your photos. If you’re in a low-light setting, increase the ISO but be cautious not to introduce too much noise.
Editing Tips to Enhance Your Photos
Editing is an important step that can polish your images and make them look professional.
Adjust Brightness and Contrast: Increase brightness to make the product look clean and adjust contrast for a crisper look.
Enhance Colors: Slightly increase saturation to make colors pop but avoid over-editing as it can look unnatural.
Sharpen Details: Use the sharpen tool to bring out finer details, especially if you have textures like embroidery, screen printing, or puff inks.
Remove Blemishes: Apps like Adobe Lightroom, Snapseed, or VSCO offer tools to remove small dust spots or imperfections in the background.
Keep Aspect Ratios in Mind
Aspect ratios are critical to ensuring your photos look their best across different platforms.
Social Media Feeds (Instagram and Facebook): For Instagram, a square ratio of 1:1 (1080 x 1080 px) or a vertical 4:5 (1080 x 1350 px) works well. Facebook feed photos often look best in 4:5 as well.
Instagram Stories, Reels, and TikTok: Use a 9:16 ratio (1080 x 1920 px) for full-screen vertical images or videos.
Website Product Pages: Websites generally use horizontal or square images. Common ratios include 4:3 (1200 x 900 px) or 1:1 (1000 x 1000 px). Check with your platform for exact recommendations, as some platforms crop images differently on mobile and desktop views.
Pinterest: The optimal ratio for Pinterest pins is 2:3 (1000 x 1500 px) for tall, eye-catching images.
Get the right ratio for each platform.
Tips for Consistent Photos
Consistency is key when building a brand on social media or an online store.
Use the Same Lighting and Backgrounds: Keep your setup consistent for a cohesive look across your photos.
Follow a Similar Editing Process: Stick to a basic editing “recipe” (e.g., same brightness, contrast, and sharpness adjustments) for each image.
Maintain Aspect Ratios: For social media, use square or portrait orientations (e.g., 4:5 for Instagram). Websites often work well with landscape (horizontal) images but check your platform requirements for ideal dimensions.
Final Thoughts
The quality of your product photos can make a big difference in how customers perceive your brand. By taking the time to set up good lighting, pay attention to details, and edit thoughtfully, you can capture beautiful images that showcase your printed apparel and promotional products. Whether you’re using a smartphone or a DSLR camera, these tips will help elevate your visuals and make your designs shine.


